Tutorial: How to Sew Heart Pockets - Sweeten up Any Make! Ft. Tilly and the Buttons Coco Dress
11/04/2016

|
| Tutorial: How to Sew Heart Pockets - Sweeten up Any Make! |
Pattern:
Fabric: Stripe Print Stretch Ponte Roma Jersey Knit Dress Fabric
Fabric: Stripe Print Stretch Ponte Roma Jersey Knit Dress Fabric
Welcome to my first sewing tutorial! I love sewing with jersey and as I'm trying to sew some more everyday items and cosy Autumn pieces, it's time to get creative with it! I recently picked up this (link above) beautiful ponte roma jersey with another Coco dress in mind and I think this classic black and white stripe is dying for a red colour pop. In the form of a cute heart pocket of course!
I've seen many, many versions of the Tilly and the Buttons 'Coco' pattern with contrast colour pockets and I've been dying to try and sew heart shaped pockets for a while now. So I thought if all went to plan, I'd share a tutorial on how I made them, and share the heart pocket love!
So, lets crack on with my first sewing tutorial!...

|
| Such a simple and a fun way to add a splash of colour to any make! |
Now I'm a simple, one session, kind of sewist. This tutorial is easy-peasy and recommended for all sewing abilities. I've obviously made my heart pockets for a jersey make, but this would also work on multiple fabrics. It'll be lovely on a cotton Summer dress or a denim skirt.
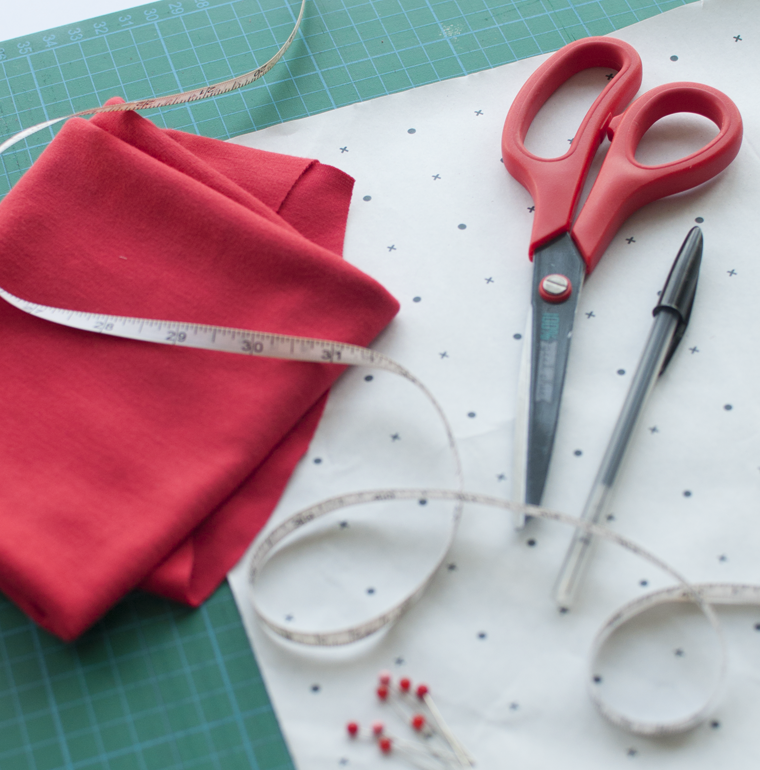
Here's what you'll need to make your heart pockets:
You really don't need very much for this tutorial, just basic sew equipment and a small amount of jersey. Pockets are a great way to stash bust!
Got everything you need? Let's begin...
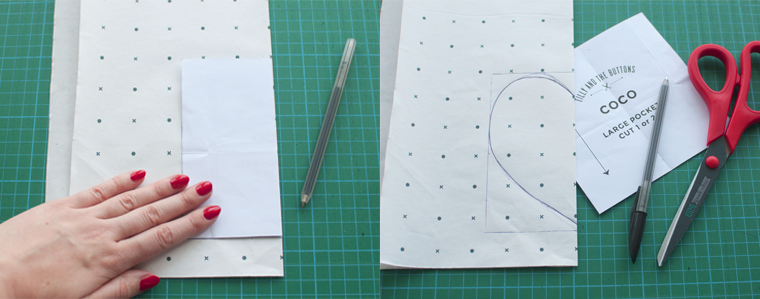
As a size guide I used the large pocket pattern piece from the 'Coco' pattern. Fold a piece of paper in half and draw one half of a heart. At this point it's a good idea to cut the whole heart out and pin it to your top or dress to give you an idea of the size. You can then re-draw the heart.
Once you're happy with the size of the heart, add a 1cm seam allowance all the way around. Cut out and open out your paper heart template.
Step 2: Cut out your heart pockets:
Use your heart template to cut out your pockets. You need to cut out 2 hearts for each pocket as they are bagged out. To create the 2 pockets for my 'Coco' dress I cut out 4 hearts in total.
Step 3: Bag out your pockets:
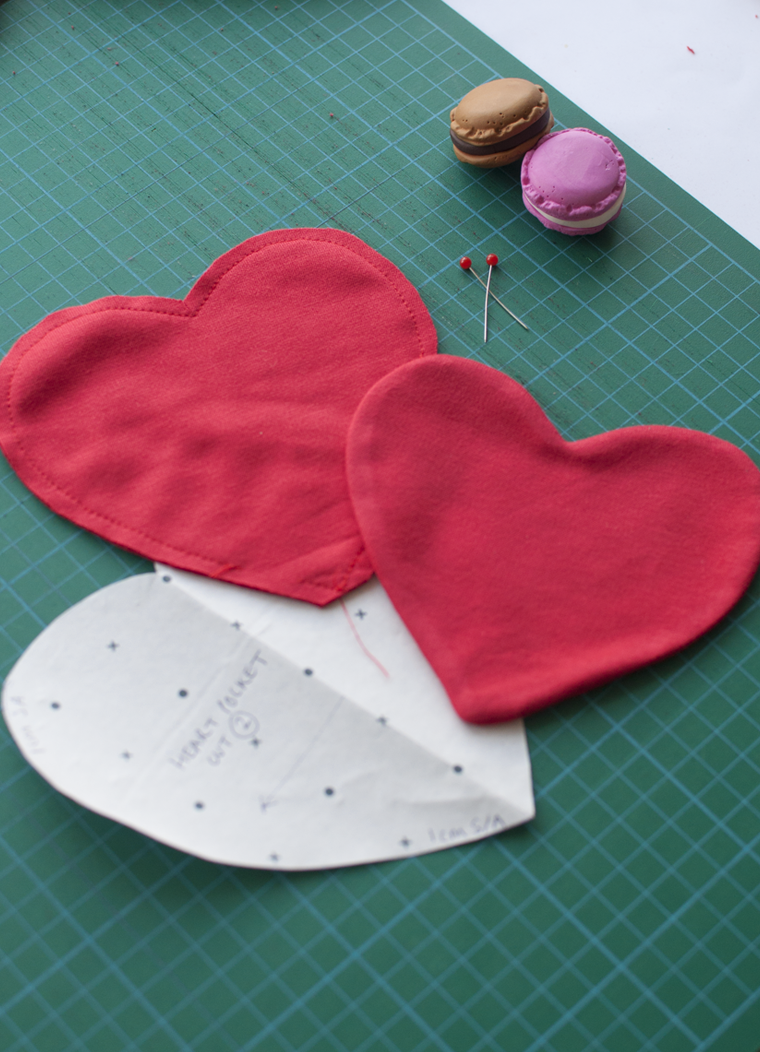
Pin two hearts right sides together. Sew you pocket leaving a small gap on one of the straight edges to bag out your heart. Trim down the seam allowances and clip the curves. Turn the pocket inside out and iron. Some people may like to slip stitch the opening closed. But I personally hate slip stitching and find carefully tucking in the seam, ironing and eventually, top stitching is fine.

|
| Adorable pattern weights always help. Check out my review of Oh Sew Quaint's Macaron Pattern Weights HERE |
You'll now have 2 lovely neat hearts ready to turn into pockets. Pin your pockets in place and mark on each pocket how far you want to sew up the hearts to form the opening. I did mine about 1cm from the top of the hearts.
It's always good to try on your garment now while your pockets are pinned on to check the placement.
Step 6: Time to sew!
Neatly and carefully sew your pocket in place with a simple straight stitch. Making sure to secure the stitches at the openings.
Tada! You now have adorable heart pockets that'll sweeten up any make!

|
| Heart pockets? Done! |

|
| Will you be trying out my heart pocket tutorial? |
Want to make this Coco dress for yourself? Here's what I used:
Pattern:
Fabric: Stripe Print Stretch Ponte Roma Jersey Knit Dress Fabric
+ scraps of red jersey from my stash
I hope you enjoyed my first sewing tutorial, hopefully this is the first of a few as I've got a couple of ideas floating around!
Thanks for reading, pinups.
xo


4 comments
So adorable!
ReplyOh these heart pockets are so cute! Love them :)
ReplyThose pockets are adorable, what a great idea! I definitely need to make another coco and will keep this tutorial in mind. Thanks! :)
ReplyWow, love the pop of colour and the fabric for the dress which I've ordered! Where did you get those lovely shoes from?
Reply